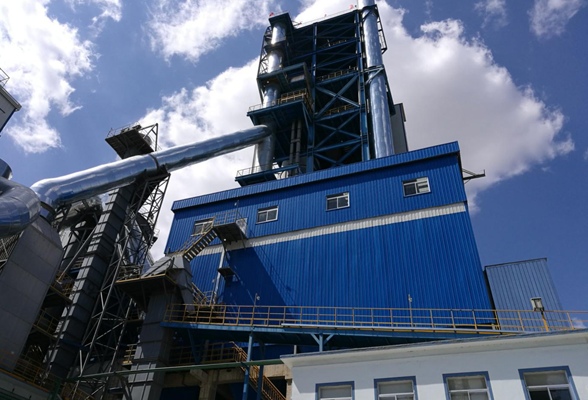
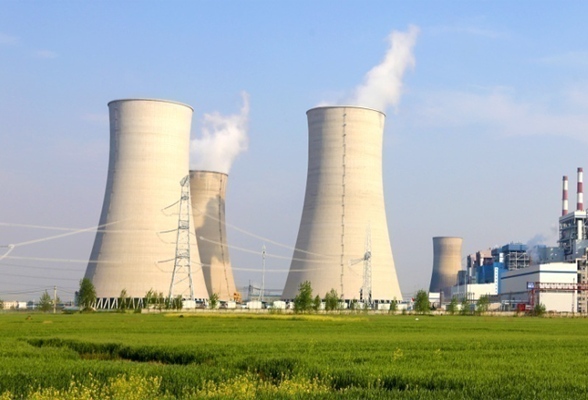
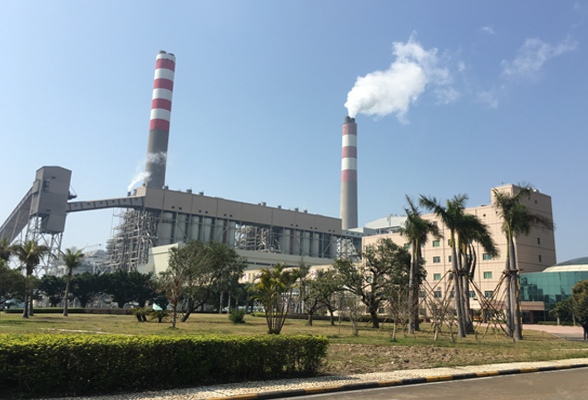
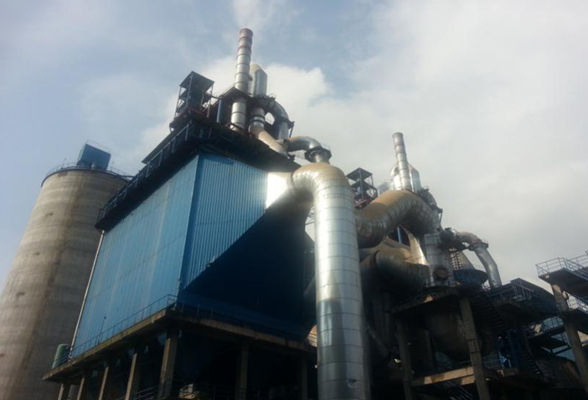
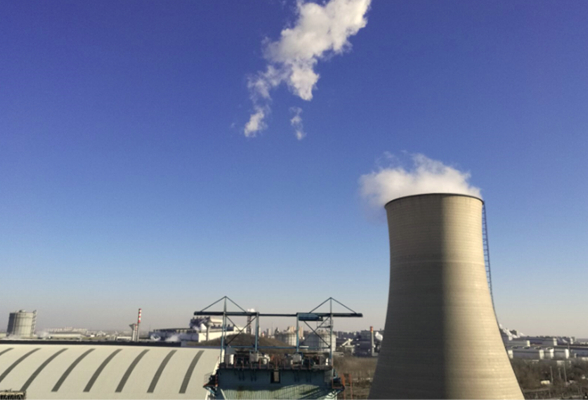
彩神ll成立于2001年,曾用名厦门三维丝环保股份有限公司。注册资本近3.9亿,于2012年入驻占地面积24000㎡的自建工业园,公司现拥有员工近1000人,总资产20亿元。公司成立之初,专注于工业高温烟气除尘,集高性能高温除尘滤料的研发、生产、销售和服务于一体,成为国内第一家高温袋式过滤除尘上市企业(股票代码:300056)。
1000
公司拥有员工近1000人
24000
占地面积24000㎡的自建工业园
20
总资产20亿元
集团简介
发展历程
荣誉资质
企业宣传片
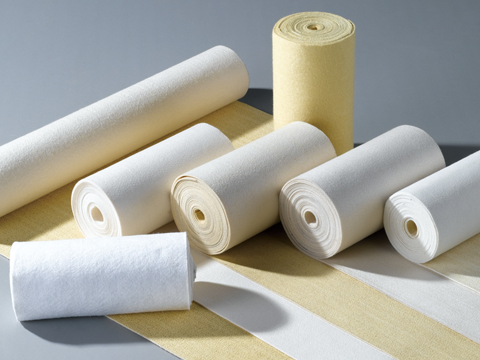
滤料
危废
水处理
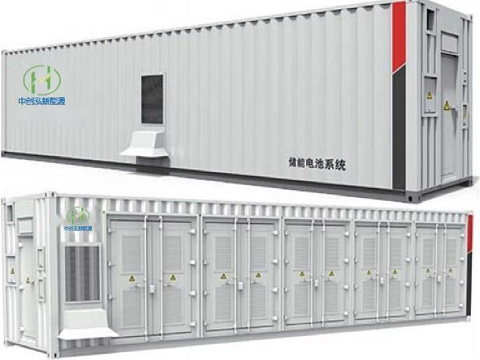
新能源


 2023-04-29